
Highly customizable ecommerce platform for WordPress.
Turn your WordPress site into your own online store with an intuitive open source ecommerce integration with the WooCommerce One-Click App. The WooCommerce plugin for WordPress makes it incredibly simple to turn your blog or personal website into an online store for selling just about anything. Add an industry-standard secure payment to sell physical goods, digital purchases like eBooks, or subscription services through WooCommerce. The platform accepts payments via major credit cards, bank transfers, PayPal, and other providers like Stripe.
In addition to all the back-end setup you need to have in your ecommerce store, WooCommerce gives you the ability to customize your storefront and shipping provider to give you more control of the experience from start to checkout.
Get WooCommerce up and running on your Linode with the WooCommerce Marketplace App.
Deploying a Marketplace App
The Linode Marketplace allows you to easily deploy software on a Compute Instance using the Cloud Manager. See Get Started with Marketplace Apps for complete steps.
- Log in to the Cloud Manager and select the Marketplace link from the left navigation menu. This displays the Linode Create page with the Marketplace tab pre-selected.
- Under the Select App section, select the app you would like to deploy.
- Complete the form by following the steps and advice within the Creating a Compute Instance guide. Depending on the Marketplace App you selected, there may be additional configuration options available. See the Configuration Options section below for compatible distributions, recommended plans, and any additional configuration options available for this Marketplace App.
- Click the Create Linode button. Once the Compute Instance has been provisioned and has fully powered on, wait for the software installation to complete. If the instance is powered off or restarted before this time, the software installation will likely fail.
To verify that the app has been fully installed, see Get Started with Marketplace Apps > Verify Installation. Once installed, follow the instructions within the Getting Started After Deployment section to access the application and start using it.
Note: WooCommerce should be fully installed within 2-5 minutes after the Compute Instance has finished provisioning.
Configuration Options
- Supported distributions: Debian 10
- Recommended minimum plan: All plan types and sizes can be used, though a minimum of a 4GB Dedicated CPU Compute Instance is recommended for production websites.
WooCommerce Options
- Webserver stack (required): Chose which webserver to use for the Wordpress deployment, Apache2 or NGINX.
- Email address (required): Enter the email address you wish to use when configuring the WordPress admin user, generating SSL certificates, and optionally creating DNS records for a custom domain.
- Wordpress Admin Username (required): Username for your WordPress admin user account. Defaults to `admin` if no username is entered.
- Wordpress Database Username (required): MySQL username for the Wordpress database user. Defaults to `wordpress` if no username is entered.
- MySQL
rootpassword (required): The root password for your MySQL database. - WordPress Database Password (required): The root password for your WordPress database.
- Website Title: Enter a title for your WordPress site.
Note: The passwords for the Wordpress Admin User, Wordpress Database User and MySQL root user are automatically generated and provided in the file `/root/.linode_credentials.txt` when the Wordpress deployment completes.
Limited User (Optional)
You can optionally fill out the following fields to automatically create a limited user for your new Compute Instance. This is recommended for most deployments as an additional security measure. This account will be assigned to the sudo group, which provides elevated permission when running commands with the sudo prefix.
- Limited sudo user: Enter your preferred username for the limited user.
- Password for the limited user: Enter a strong password for the new user.
- SSH public key for the limited user: If you wish to login as the limited user through public key authentication (without entering a password), enter your public key here. See Creating an SSH Key Pair and Configuring Public Key Authentication on a Server for instructions on generating a key pair.
- Disable root access over SSH: To block the root user from logging in over SSH, select Yes (recommended). You can still switch to the root user once logged in and you can also log in as root through Lish.
Custom Domain (Optional)
If you wish to access your application using a custom domain, fill out the following fields.
- Linode API Token: If you wish to use the Linode’s DNS Manager to manage DNS records for your custom domain, create a Linode API Personal Access Token on your account with Read/Write access to Domains. If this is provided along with the subdomain and domain fields (outlined below), the installation attempts to create DNS records via the Linode API. See Get an API Access Token. If you do not provide this field, you need to manually configure your DNS records through your DNS provider and point them to the IP address of the new instance.
- Subdomain: The subdomain you wish to use, such as www for
www.example.com. - Domain: The domain name you wish to use, such as example.com.
- Would you like to be able to send password reset emails for WordPress? Creates the required DNS records and configures the server so you can send emails from WordPress, such as for resetting a password.
- Would you like to use a free Let’s Encrypt SSL certificate? If you would like to use the free Let’s Encrypt CA to generate TLS/SSL certificates, select Yes.
Getting Started After Deployment
Obtain the Credentials
Once the app has been fully deployed, you need to obtain the credentials from the server.
- Log in to your new Compute Instance using one of the methods below:
- Lish Console: Within the Cloud Manager, navigate to Linodes from the left menu, select the Compute Instance you just deployed, and click the Launch LISH Console button. Log in as the
rootuser. See Using the Lish Console. - SSH: Log in to your Compute Instance over SSH using the
rootuser. See Connecting to a Remote Server Over SSH for assistance.
- Lish Console: Within the Cloud Manager, navigate to Linodes from the left menu, select the Compute Instance you just deployed, and click the Launch LISH Console button. Log in as the
- Once logged in, access the credentials file by runing the following command:
cat /root/.linode_credentials.txt - This displays the passwords that were automatically generated when the instance was deployed. Once you save these passwords, you can safely delete this file.
Accessing the WordPress Admin Dashboard
- Open your web browser and navigate to
http://[domain]/wp-admin/, where [domain] can be replaced with the custom domain you entered during deployment or your Compute Instance’s IPv4 address or rDNS domain (such as192-0-2-1.ip.linodeusercontent.com). See the Managing IP Addresses guide for information on viewing IP addresses and rDNS.
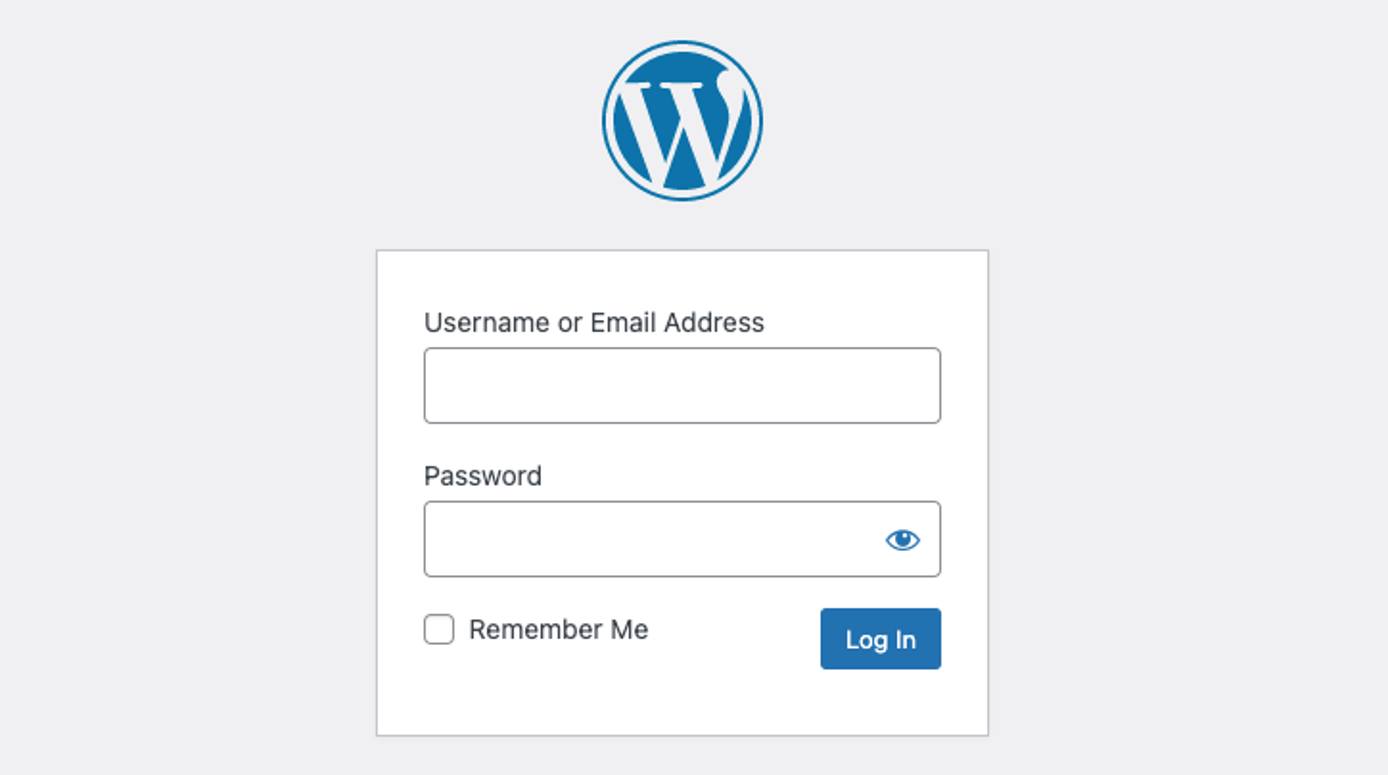
- Within the login page that appears, enter the username (admin username) that you created when you deployed this instance and the associated password that was automatically generated. Then click the Log In button.
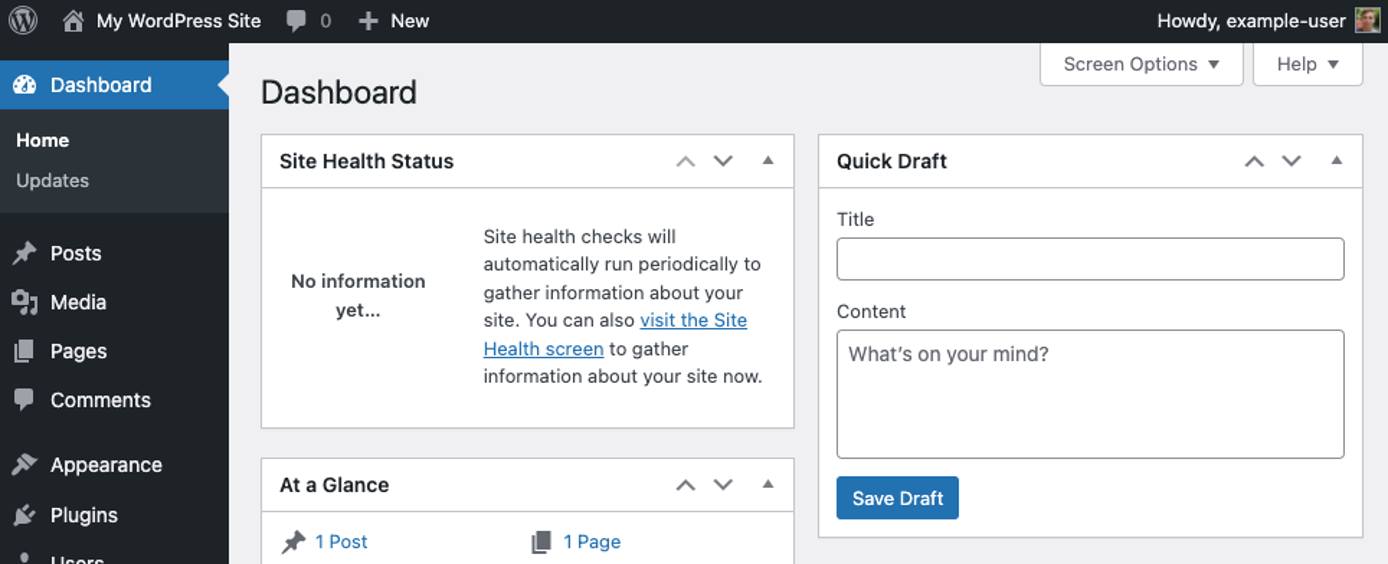
- Once logged in, the WordPress Admin Dashboard appears. From here, you can create new posts, add users, modify the theme, and adjust any settings.
Viewing Your Website
Open a web browser and navigate to http://[domain], replacing [domain] with the custom domain you entered during deployment or your Compute Instance’s IPv4 address or rDNS domain. See the Managing IP Addresses guide for information on viewing IP addresses and rDNS. Your WordPress site should now be displayed.
Complete the WooCommerce Setup Wizard
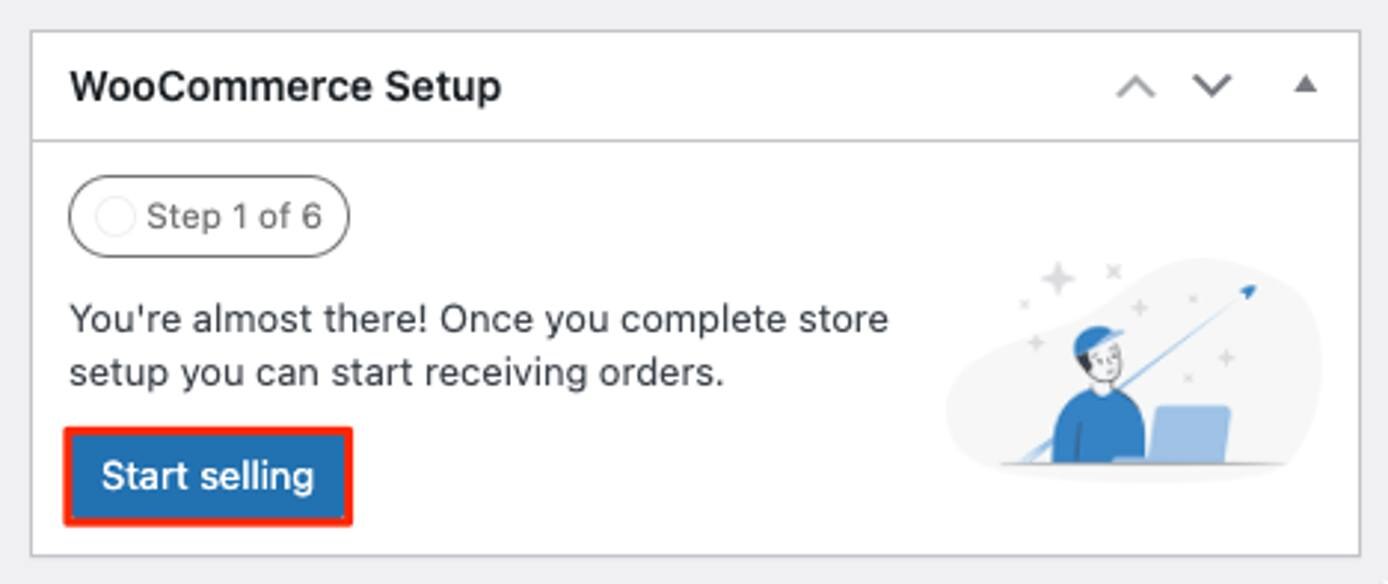
- After logging in to the WordPress Admin interface, initiate the WooCommerce Setup Wizard by clicking the Start Selling button within the WooCommerce Setup banner that appears on the dashboard. You can also initiate the Setup Wizard by hovering over WooCommerce on the left menu and selecting Home.
- Follow each step of the Setup Wizard by entering in your store address details, selecting the industry, selecting the types of products that you intend on selling, entering additional business details, and selecting a theme.
Note: Some WooCommerce features and themes require a monthly or yearly paid subscription or otherwise cost money. When going through the Setup Wizard, be aware of the cost of each optional feature you select. - Depending on the options you select, you may be asked to create a Jetpack account or connect your existing account. This enables you to use Jetpack’s suite of tools within WordPress. Jetpack offers a free tier as well as multiple paid tiers. See Jetpack Pricing. You can safely ignore this screen if you do not wish to use Jetpack services.
- Once the Setup Wizard has finished, you are taken to WooCommerce > Home within your WordPress Admin dashboard. From here, you are presented with a checklist of tasks you may need to complete before selling products. This includes adding products, setting up a payment processor, creating tax rules, and more. See the WooCommerce Documentation site to get help completing these steps and using your WooCommerce store.
More Information
You may wish to consult the following resources for additional information on this topic. While these are provided in the hope that they will be useful, please note that we cannot vouch for the accuracy or timeliness of externally hosted materials.
- WooCommerce Docs
- Introduction to eCommerce for WordPress
- New Store Owners Guide
- WooCommerce Storefront Theme
- WooCommerce Themes by Industry
- WooCommerce Extensions
Going Further
Now that your WordPress installation is deployed, you can start adding content and modifying it to suit your needs. Here are a few links to help get you started:
- WordPress Support: Learn the basic workflows for using WordPress.
- Securing WordPress: Advice on securing WordPress through HTTPS, using a secure password, changing the admin username, and more.
- WordPress Themes: A collection of thousands of WordPress themes.
- Marketplace Apps Repository: Review the deployment Ansible playbooks.
The WooCommerce Marketplace App was built by Linode. For support regarding app deployment, contact Linode Support via the information listed in the sidebar. For support regarding the tool or software itself, visit How to Get Help on WooCommerce.

