Kepler is a powerful drag & drop WordPress website builder with all-new website style filters that instantly change the look and feel of your website.
Kepler’s incredibly versatile Design System lets you create a website without having any coding or design know-how. Everything you make will look consistent and professional. Kepler introduces a new era of what’s possible on Wordpress, including a dedicated community and a roadmap of equally exciting feature updates that we think you’ll love.
Get Started with a complete website or choose to insert as many unique, designer-built pages into your project whenever you choose.
Enjoy a FREE 14-days trial to experience building websites with Kepler.
Kepler Options
| Field | Description |
|---|---|
| Webserver Stack | Chose which web server to use for the WordPress deployment, Apache2 or NGINX. Required. |
| E-Mail Address | E-Mail address for your WordPress admin user. This is also used as the start of authority (SOA) email address for this server. This email address is added to the SOA record for the domain. This is a required field if you want the installer to create DNS records. Required. |
| Wordpress Admin Username | Username for your WordPress admin user account. Defaults to admin if no username is entered. Required. |
| WordPress Database Username | MySQL username for the WordPress database user. Defaults to wordpress if no username is entered. Required. |
| WordPress Database Name | Name for the WordPress MySQL database. Defaults to wordpress if no database name is defined. Required. |
| Website Title | Your WordPress site’s title. |
| The limited sudo user to be created for the Linode | This is the limited user account to be created for the Linode. This account has sudo user privileges. |
| The password for the limited sudo user | Set a password for the limited sudo user. The password must meet the complexity strength validation requirements for a strong password. This password can be used to perform any action on your server, similar to root, so make it long, complex, and unique. |
| The SSH Public Key that will be used to access the Linode | If you wish to access SSH via Public Key (recommended) rather than by password, enter the public key here. |
| Enable passwordless sudo access for the limited user? | If you entered an SSH Public Key above and it is for the limited user account, select Yes, this allows SSH to use Public Key login for the limited user. Select No if you want SSH to rely on using password login for the limited user account. |
| Disable root access over SSH? | Select Yes to block the root account from logging into the server via SSH. Select No to allow the root account to login via SSH. |
| Configure automatic security updates | Select Yes to have the system automatically update WordPress with the latest security updates. Select No to if you wish to manage all updates manually. |
| Use fail2ban to prevent automated intrusion attemps? | Select Yes to install fail2ban. Select No to not install fail2ban during installation. You can install this at a later time. |
| Your Linode API Token | Your Linode API Token is needed to create DNS records. If this is provided along with the subdomain and domain fields, the installation attempts to create DNS records via the Linode API. If you don’t have a token, but you want the installation to create DNS records, you must create one before continuing. |
| Subdomain | The subdomain you wish the installer to create a DNS record for during setup. The suggestion given is www. The subdomain should only be provided if you also provide a domain and API Token. |
| Domain | The domain name where you wish to host your WordPress site. The installer creates a DNS record for this domain during setup if you provide this field along with your API Token. |
| Do you need an MX record for this domain? | Check Yes if you plan on using WordPress to send email. The installer, along with your API Token (required) sets up the necessary MX records in the DNS Manager. Select No if you do not plan on using WordPress to send email. You can add an MX record manually at a later time if you change your decision. |
| Do you need an SPF record for this domain? | Check yes if you plan on using WordPress to send email. The installer, along with your API Token (required) sets up the necessary SPF records in the DNS Manager. Select No if you do not plan on using WordPress to send email. You can add an SPF record manually at a later time if you change your decision. |
| Would you like to use a free Let’s Encrypt SSL certificate? | Select Yes if you would like the install to create an SSL certificate for you, or No if you do not. You cannot create secure, encrypted conferences without an SSL certificate. |
Note: The passwords for the WordPress Admin User, WordPress Database User and MySQL root user are automatically generated and provided in the file `/root/.linode_credentials.txt` when the WordPress deployment completes.
Your Kepler app will complete installation anywhere between 2-5 minutes after your Linode has finished provisioning.
Getting Started After Deployment
Obtain the Credentials
Once the app has been fully deployed, you need to obtain the credentials from the server.
- Log in to your new Compute Instance using one of the methods below:
- Lish Console: Within the Cloud Manager, navigate to Linodes from the left menu, select the Compute Instance you just deployed, and click the Launch LISH Console button. Log in as the
rootuser. See Using the Lish Console. - SSH: Log in to your Compute Instance over SSH using the
rootuser. See Connecting to a Remote Server Over SSH for assistance.
- Lish Console: Within the Cloud Manager, navigate to Linodes from the left menu, select the Compute Instance you just deployed, and click the Launch LISH Console button. Log in as the
- Once logged in, access the credentials file by runing the following command:
cat /root/.linode_credentials.txtThis displays the passwords that were automatically generated when the instance was deployed. Once you save these passwords, you can safely delete this file.
Accessing the WordPress Admin Dashboard
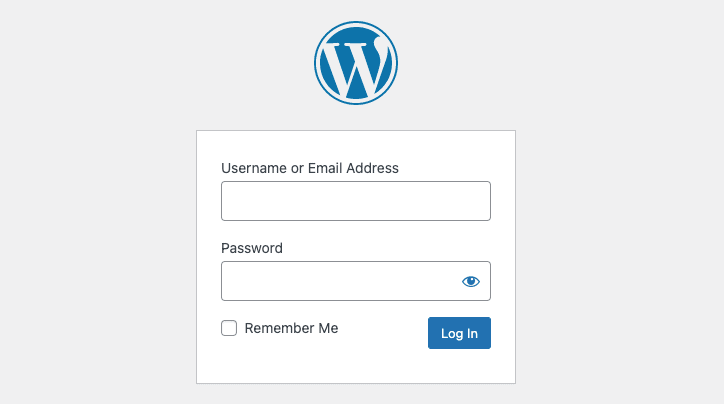
1. Open your web browser and navigate to http://[domain]/wp-admin/, where [domain] can be replaced with the custom domain you entered during deployment or your Compute Instance’s IPv4 address or rDNS domain (such as 192-0-2-1.ip.linodeusercontent.com). See the Managing IP Addresses guide for information on viewing IP addresses and rDNS.

2. Within the login page that appears, enter the username (*admin username*) that you created when you deployed this instance and the associated password that was automatically generated. Then click the **Log In** button.
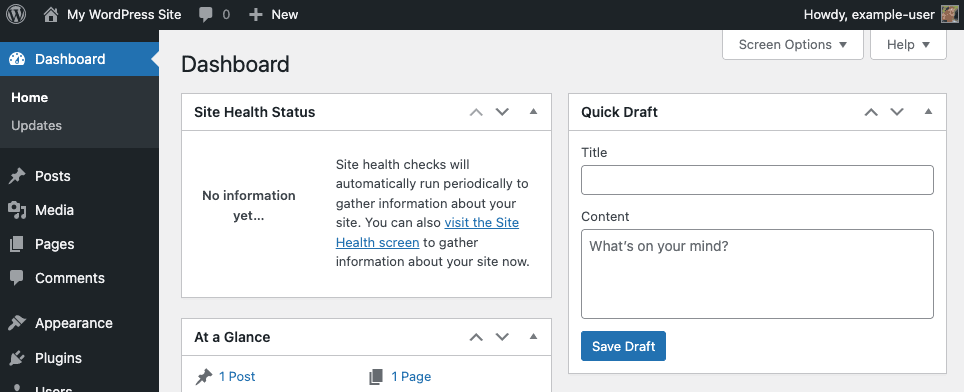
3. Once logged in, the WordPress Admin Dashboard appears. From here, you can create new posts, add users, modify the theme, and adjust any settings.
Viewing Your Website
Open a web browser and navigate to http://[domain], replacing [domain] with the custom domain you entered during deployment or your Compute Instance’s IPv4 address or rDNS domain. See the Managing IP Addresses guide for information on viewing IP addresses and rDNS. Your WordPress site should now be displayed.
Going Further
Now that your WordPress installation is deployed, you can start adding content and modifying it to suit your needs. Here are a few links to help get you started:
- WordPress Support: Learn the basic workflows for using WordPress.
- Securing WordPress: Advice on securing WordPress through HTTPS, using a secure password, changing the admin username, and more.
- WordPress Themes: A collection of thousands of WordPress themes.
- Marketplace Apps Repository: Review the deployment Ansible playbooks.
The Kepler Builder One-Click App was built for Linode by Team Kepler. For support regarding app deployment, contact Linode Support. For support regarding the tool or software itself, use the information in the sidebar to contact Team Kepler.

